
 EN
Master the Basic Structure of the pet carrier for Smooth Operation
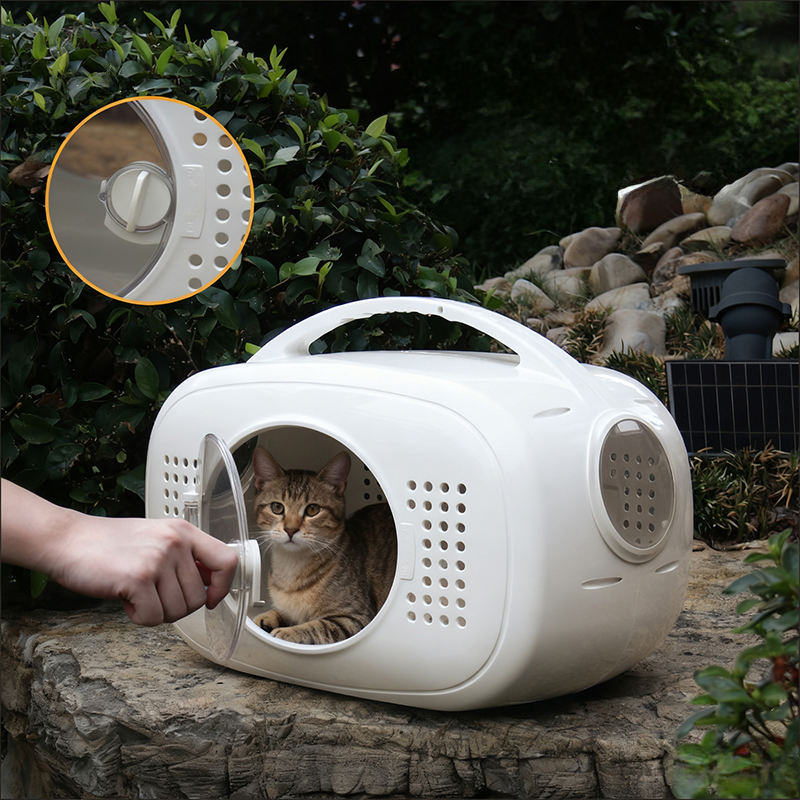
Before assembling or disassembling a pet carrier, understanding its basic structure is the key to avoiding trouble, and this is a lesson I learned from struggling with a complicated carrier as a new pet owner. My first pet carrier was a cheap, poorly designed model with unclear parts and no logical assembly sequence—I spent over an hour trying to put it together, only to find I’d attached the bottom wrong, and disassembly was even harder, with clips that got stuck. Then I switched to a pet carrier from a professional manufacturer with 15+ years of pet supplies expertise. This pet carrier has a simplified, user-friendly structure: a sturdy ABS plastic frame, detachable mesh doors, a removable bottom pad, and snap-lock connections that are easy to identify. Pet product design experts explain that a well-structured pet carrier prioritizes ease of use, with standardized parts and intuitive assembly points. This manufacturer’s pet carrier comes with clear, picture-based instructions, and all parts are labeled—even first-time users can recognize the frame, doors, and fasteners at a glance. Mastering this simple structure made assembly and disassembly a breeze, cutting my time from over an hour to just 10 minutes.
Follow Step-by-Step Assembly Guides for the pet carrier
Following a systematic assembly process is crucial for easy pet carrier setup, and I’ve refined this method through multiple uses with my cat’s carrier. Start by laying out all parts on a flat surface: the main frame, front/side mesh doors, bottom pad, and fasteners. First, snap the frame pieces together—this pet carrier’s frame has pre-aligned grooves, so you just push until you hear a "click" to lock them in place. Next, attach the mesh doors: the hinges line up with the frame’s holes, and small pins secure them without tools. Finally, place the soft bottom pad inside, which fits perfectly without slipping. What makes this pet carrier stand out is its tool-free assembly—all connections use snap locks or push pins, no screwdrivers or complicated hardware needed. Pet care experts emphasize that step-by-step assembly reduces mistakes and frustration, especially for new users. This manufacturer’s 7-step strict quality control ensures all parts fit precisely, and their customer service provides 24-hour online support if you get stuck. Following their guide, I’ve never had to redo an assembly, and the carrier stays sturdy even after repeated use.
Use Smart Disassembly Techniques for the pet carrier
Disassembling a pet carrier doesn’t have to be a hassle—smart techniques tailored to the carrier’s design make it quick and damage-free, a skill I picked up after cleaning my pet carrier regularly. My old carrier had rigid connections that broke when I forced them apart, but this manufacturer’s pet carrier uses reversible fasteners that are easy to release. Start by removing the bottom pad, then press the release buttons on the mesh doors to detach them from the frame. For the frame, gently squeeze the locked joints while pulling—this leverages the carrier’s flexible ABS material to release the snaps without bending or breaking. Pet product maintenance specialists advise against using brute force; instead, use the carrier’s built-in release mechanisms, which are designed to withstand repeated disassembly. This pet carrier’s parts are also durable, with reinforced joints that resist wear from frequent assembly and disassembly. I disassemble it once a week to clean the mesh and pad, and after a year of use, all parts still work like new—no loose connections or broken fasteners.
Leverage the Collapsible Design of the pet carrier for Easy Storage
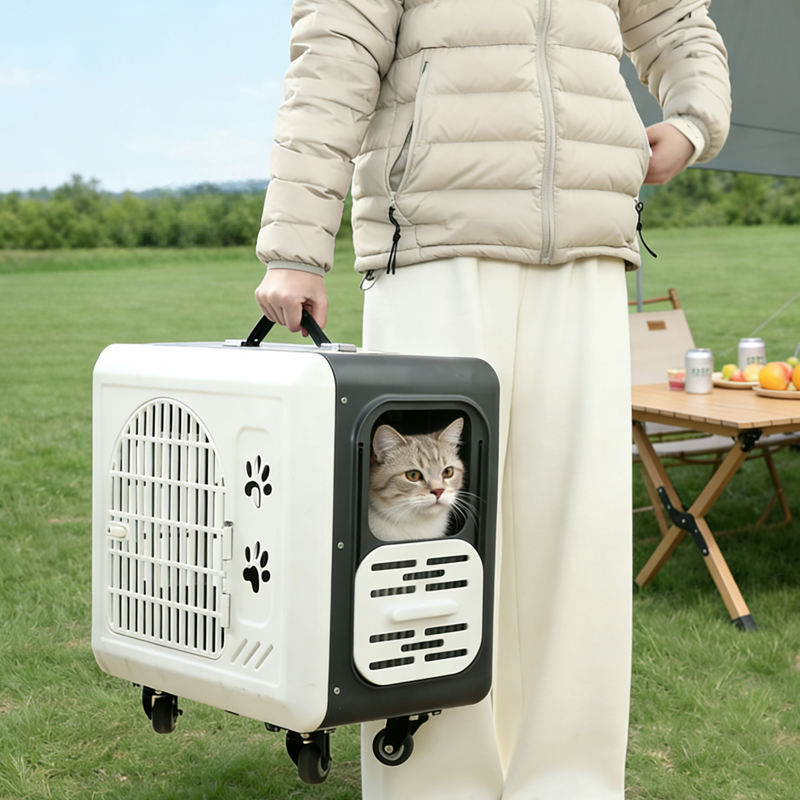
Many pet carriers are bulky when not in use, but a collapsible design makes disassembly even more valuable for space-saving storage, and this is a game-changer for my small apartment. After disassembling the mesh doors and bottom pad, this pet carrier’s frame folds flat with a simple push—its collapsible structure reduces its size by 60%, so I can store it under my bed or in a closet without taking up much space. Pet lifestyle experts note that collapsible pet carriers are ideal for urban pet owners with limited storage, as they combine portability with convenience. This manufacturer’s collapsible design doesn’t compromise sturdiness; the folded frame retains its shape and can be reassembled in seconds when needed. I also appreciate that the collapsible feature makes travel easier—when visiting the vet, I can fold the carrier flat in my car trunk, then assemble it quickly when I arrive. The carrier’s lightweight yet durable ABS material means it’s easy to carry when folded, adding to its practicality.
Maintain and Care for the pet carrier to Ensure Long-Term Ease of Use
Proper maintenance keeps a pet carrier easy to assemble and disassemble over time, and I’ve learned this through consistent care of my carrier. After each use, I wipe down the frame and mesh doors with a damp cloth to remove pet hair and dirt—this prevents buildup that can jam the fasteners. For deeper cleaning, I hand-wash the removable bottom pad with mild soap, then let it air dry completely before reassembly. Pet product durability experts recommend avoiding harsh chemicals that can damage the plastic or weaken the fasteners. This manufacturer’s pet carrier uses high-quality, water-resistant materials that are easy to clean, and their 3-year zero major quality complaint track record speaks to its durability. I also check the fasteners and hinges monthly for signs of wear, and the manufacturer’s after-sales warranty covers any defective parts. By following these simple maintenance steps, my pet carrier remains easy to assemble and disassemble, and it continues to keep my cat safe and comfortable during vet visits and travels.